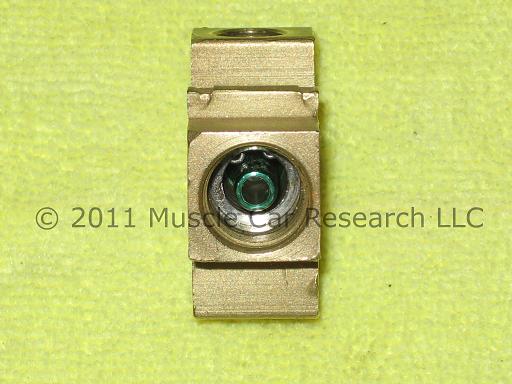
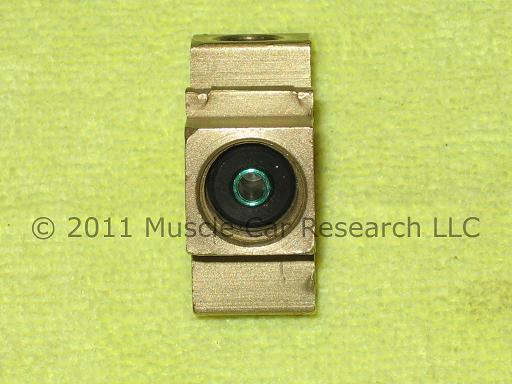
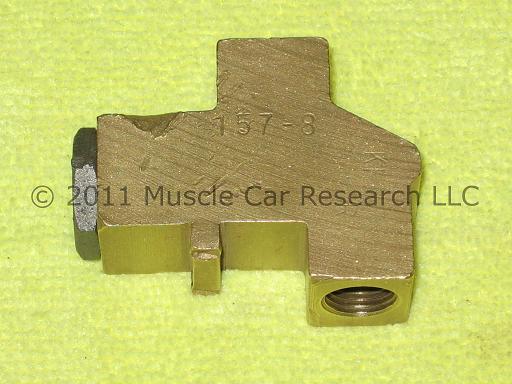
This Kelsey-Hayes proportioning valve (sometimes also called a "rear pressure regulating valve") was allegedly removed from a 1968 Yenko Camaro. I believe that the same type of valve was also used on other GM vehicles, 1967 - 1969 Ford Galaxie and Thunderbird (car lines A and S), 1967 - 1969 full-sized Mercury and Lincoln (car lines A, D, and K), 1968 - 1970 Mopars (car lines B, J, L, R, V, and W), and the 1968 - 1970 AMC American, AMX, and Javelin. I believe the original GM part number for this valve is 3908326, the Ford part number is C7AZ-2B091-A, the Mopar part number is 2852 045, and the AMC part numbers are 319 0928 or 319 3798. The folks at the Camaro Research Group have an excellent article that describes their research into the 1967 - 1969 Camaro applications for this valve. Ford also used this valve as a later service replacement for the cylindrical C7OZ-2B091-B proportioning valve.
This document describes how to rebuild the valve using a new seal kit available from Muscle Car Research LLC. Tools needed:
|
|
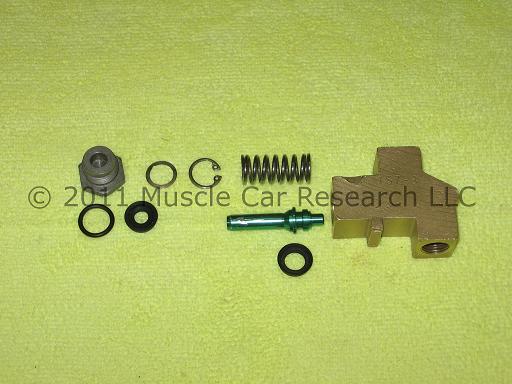
The seal kit provided by Muscle Car Research LLC includes the following parts:
- U-cup seal
- Piston seal
- O-ring
Install the new piston seal on the end of the piston. Note the orientation of the seal!
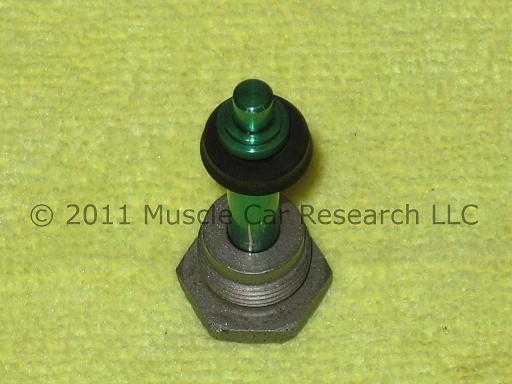
Lubricate the seal with clean brake fluid and install the piston in the bore of the valve body. Install the spring after installing the piston.
The next step is the only tricky part of the rebuild. Install the snap ring using the snap ring pliers and whatever tools (punch, screwdriver, etc) you have on hand to compress the spring far enough into the bore to get the ring to seat in its groove. Make sure the snap ring is fully seated before proceeding to the next step! If you can pull it out with a gentle tug from your dental pick it's not properly seated.
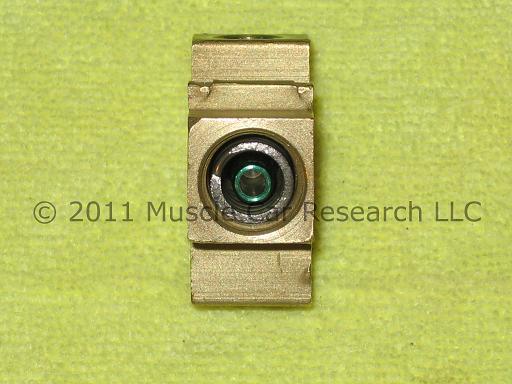
The rest of the way is easy! Install the washer over the top of the snap ring.
Install the u-cup seal after installing the washer. Lubricate the seal with clean brake fluid. Again, note the orientation of the seal! The flat side should be facing out.
Install the o-ring into the groove on the plug. Lubricate the seal with clean brake fluid.
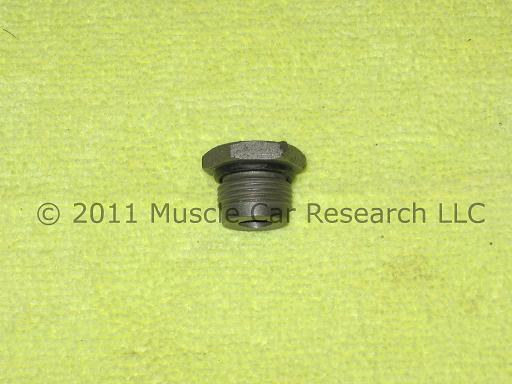
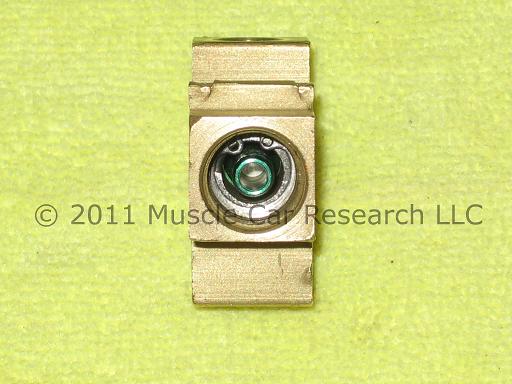
Screw the plug into the body of the valve - and you're done!
Now you can reinstall the valve in the car and reconnect the brake lines to the valve. Start each line by hand as best you can to ensure that the fittings are threading in straight and smooth. Be careful - it's easy to cross-thread the fittings and damage the soft brass threads. Tighten each fitting with a flare nut wrench. You may need to tighten, loosen, and retighten each fitting multiple times to obtain a leak-free seal. Add brake fluid, bleed the brakes, and check for leaks.
- Log in to post comments