This document describes how to rebuild the 1967 - 1975 GM brake pressure differential valve using a new seal and spring kit available from Muscle Car Research LLC. Tools needed:
|
|
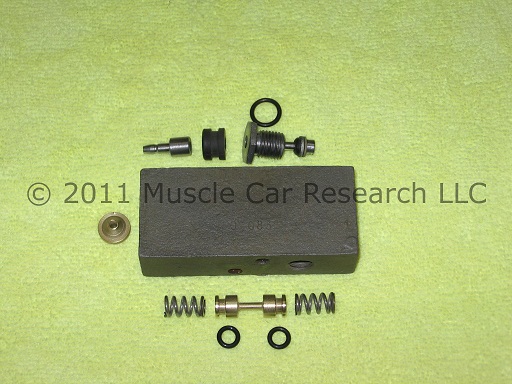
The rebuild kit provided by Muscle Car Research LLC includes the following parts:
- Springs
- Piston o-ring seals
- Contact terminal o-ring seal
- Brass tube seat
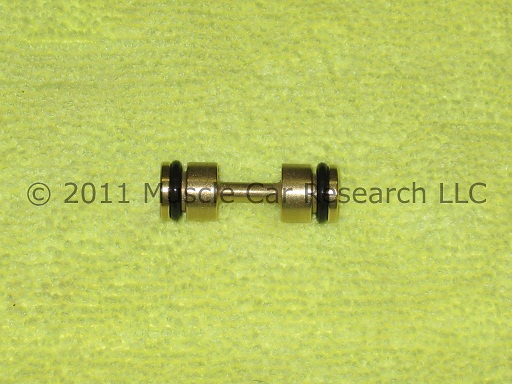
Install the first spring, the piston, and then the second spring. You will need to apply a little pressure with a nail set or thin screwdriver to insert the piston. Lubricate the o-rings again to avoid damaging them as you install them. The second spring should be below the beveled edge that mates with the brass tube seat.
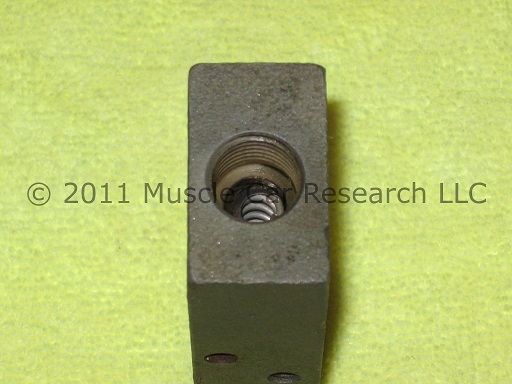
Lay the brass tube seat in place and make sure that it's not cocked.
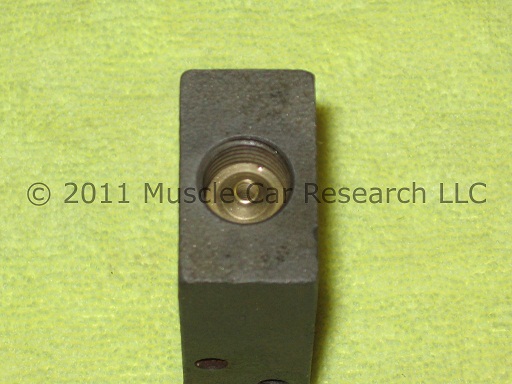
Press the seat into place using a brake line fitting. Tighten it well to ensure that it's seated.
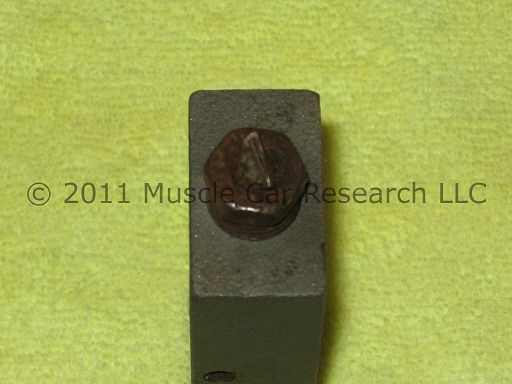
Turn your attention to the terminal. GM used two types on these valves. One type can be identified by the black plastic insulator that's visible above the hex nut. This terminal can be disassembled by removing the screw from the bottom of the terminal assembly. Clean the plastic parts with soap and water and the metal parts with a wire wheel or by bead blasting. Do not lose any of the small plastic parts! They are needed to insulate the contact from the valve body.
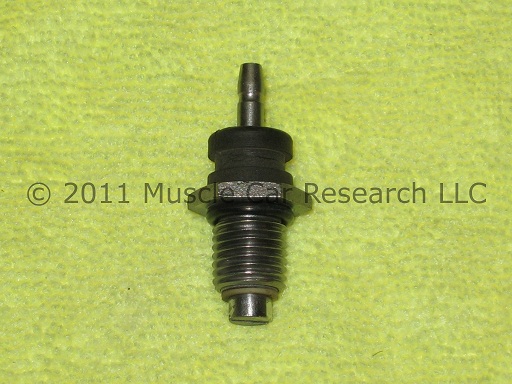
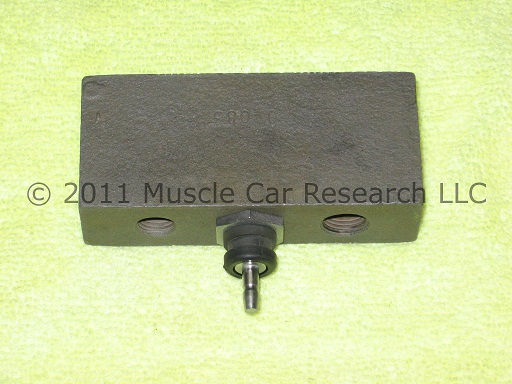
The second type can be identified by the steel body (no black plastic) above the hex nut.
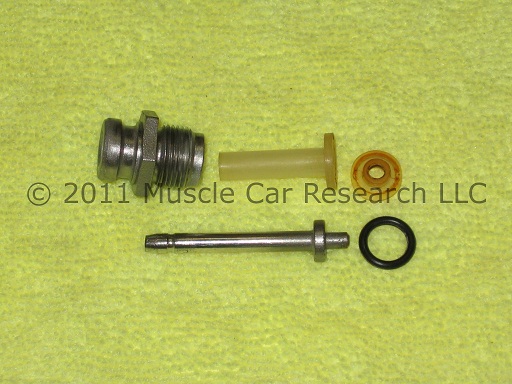
This terminal also uses plastic insulators to shield the contact from the valve body. Note that the two switches use different o-ring seals. Be sure to correctly identify the type of terminal you're working with when ordering a rebuild kit.
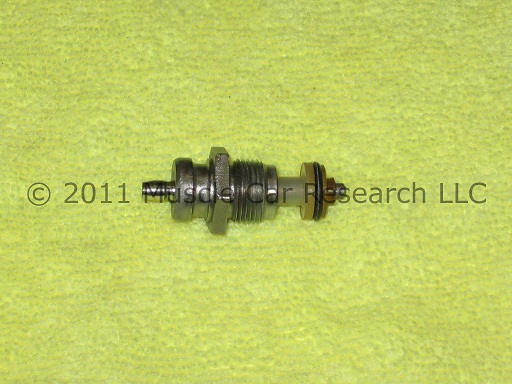
Screw the terminal into the body of the valve - and you're done!
Now you can reinstall the valve in the car and reconnect the brake lines to the valve. Start each line by hand as best you can to ensure that the fittings are threading in straight and smooth. Be careful - it's easy to cross-thread the fittings and damage the soft threads on a brass valve body. Tighten each fitting with a flare nut wrench. You may need to tighten, loosen, and retighten each fitting multiple times to obtain a leak-free seal. Add brake fluid, bleed the brakes, and check for leaks.
The bracket used on this valve was originally plated with a zinc dichromate or yellow cadmium finish. If you're rebuilding the valve for use on a concours show car you will want to remove the bracket from the valve. On a cast iron valve the bracket can be removed by removing the two 10-24 x 3/8" screws that secure it to the body - just be careful when working with rusty screws that can break when you try to remove them! It may help to soak the screws with a quality penetrating oil and then loosen them a bit with an impact driver before trying to turn them with a screwdriver. On a brass valve the bracket can be removed by carefully reforming the staked brass tab that holds the bracket in place. After plating, the bracket can be reinstalled by restaking the brass tab with a ball peen hammer.
- Log in to post comments