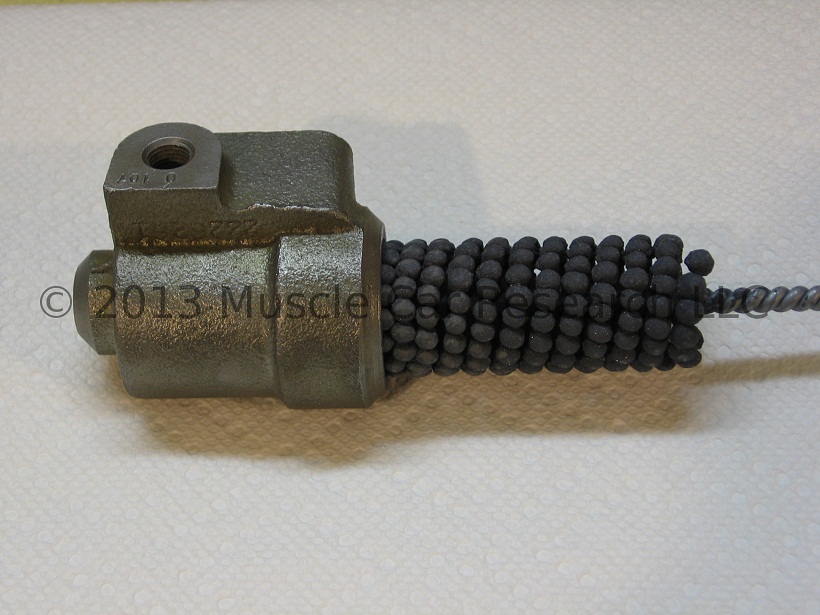
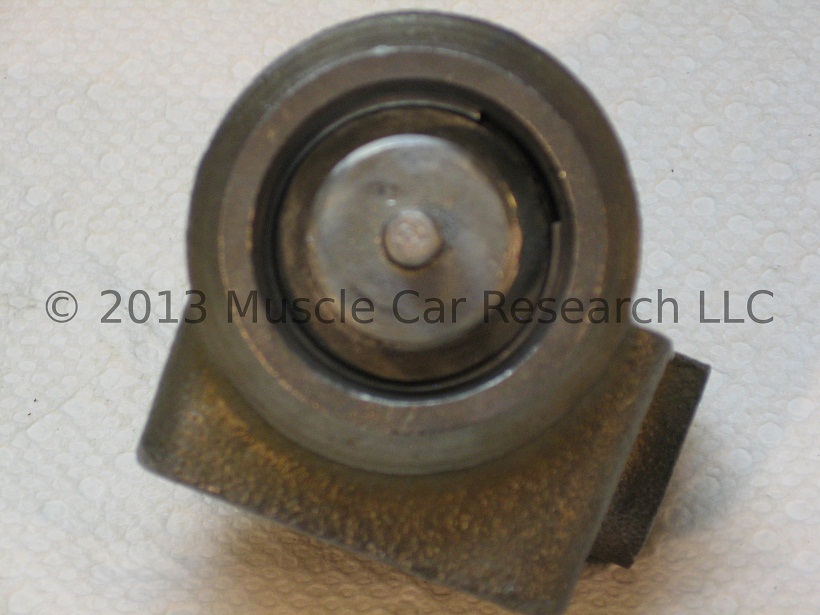
This Bendix metering valve was removed from a 1970 Chevrolet Camaro. According to my parts catalogs the original applications include the following 1970 GM vehicles equipped with front disk and rear drum brakes: all 1970 Chevrolet, all 1970 Buick A-body, and Oldsmobile F85. The original GM part number for this valve is 1233464; it is stamped 2226261. At some point GM replaced the 3905525 valve with this part.
You can click on the pictures below to see larger versions of the images.
This document describes how to rebuild the valve using a new seal kit available from Muscle Car Research LLC. Tools needed:
|
|
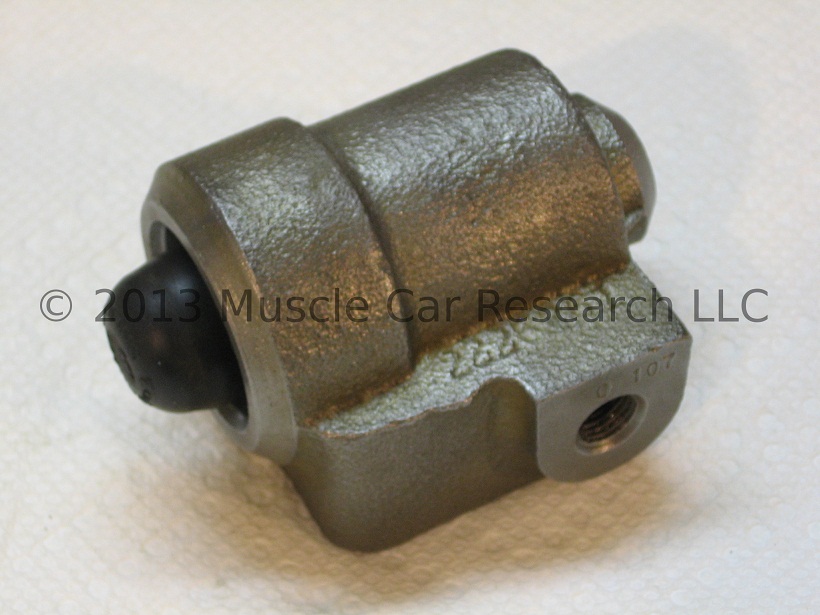
The seal kit provided by Muscle Car Research LLC includes the following parts:
- Rubber sealing washers
- O-ring
- Retaining ring
Arrange your valve, tools, and rebuild kit on a clean work surface. Let's get started! The first step is to inspect the valve and make sure that the exterior is undamaged. Check the port threads for damage. If any of the port threads are stripped or damaged you're better off finding another valve. If your valve passes the exterior inspection you're ready to disassemble it and inspect the internal parts.

Disassemble the valve as described in our 1970 GM 1233464 Metering Valve Autopsy article. Remove surface rust. Bead blasting works great, but chelation is another option. No matter how you remove the rust it's a good idea to keep blasting media or chelation fluids out of the valve body.
Clean the parts, flush with soap and water, and polish with the Dremel tool. Clean the insides of the valve and make sure that the sealing surfaces are perfectly clean - any dirty residue that lingers in here can cause a leak! Make sure that the bore of the valve isn't pitted. Pitting can cause leaks, and if the sealing surface is pitted the valve will need to be sleeved by a professional brake service technician.
Hone the sealing surface of the valve using the ball hone and hand drill, and be sure to follow the RPM and stroke recommendations provided by the hone manufacturer. Lubricate the hone with clean brake fluid.
Now you can start to reassemble the spool valve. You'll need the piston, the metal disk, and the two smaller washers from the rebuild kit.
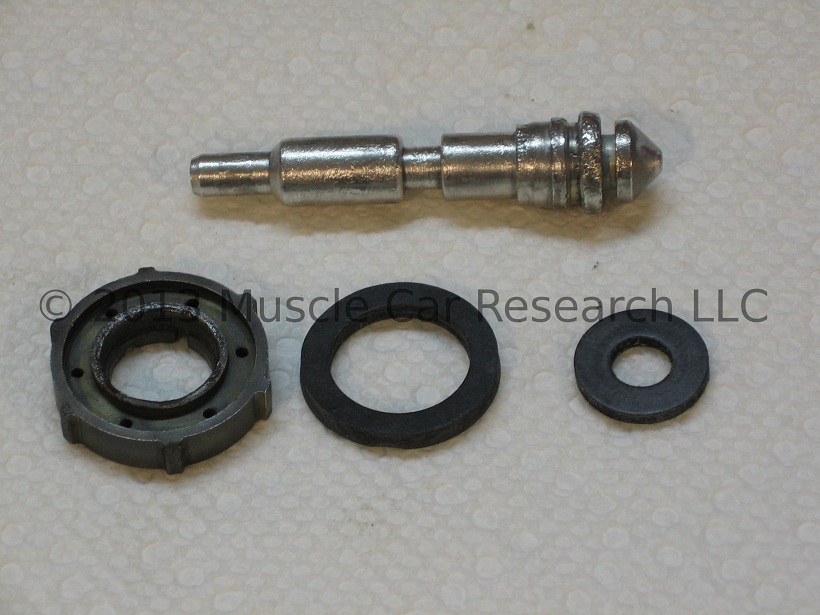
Lubricate the seals with clean brake fluid. Install the smallest washer on the large end of the piston. Install the larger washer into the groove on the metal disk.
Install the metal disk onto the piston with the larger rubber seal facing the smaller seal. Press the smaller seal into the inside diameter of the larger seal.
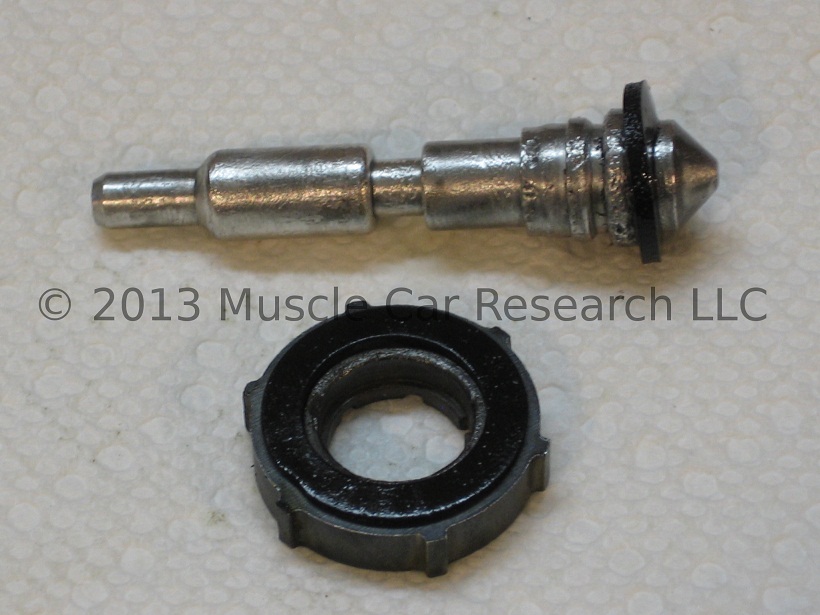
Now you need the two springs and the metal cap.

Install the springs onto the piston, and then install the cap with the "hat" of the cap pointed into the valve assembly so that the flat surface is exposed. Collect the large sealing washer.
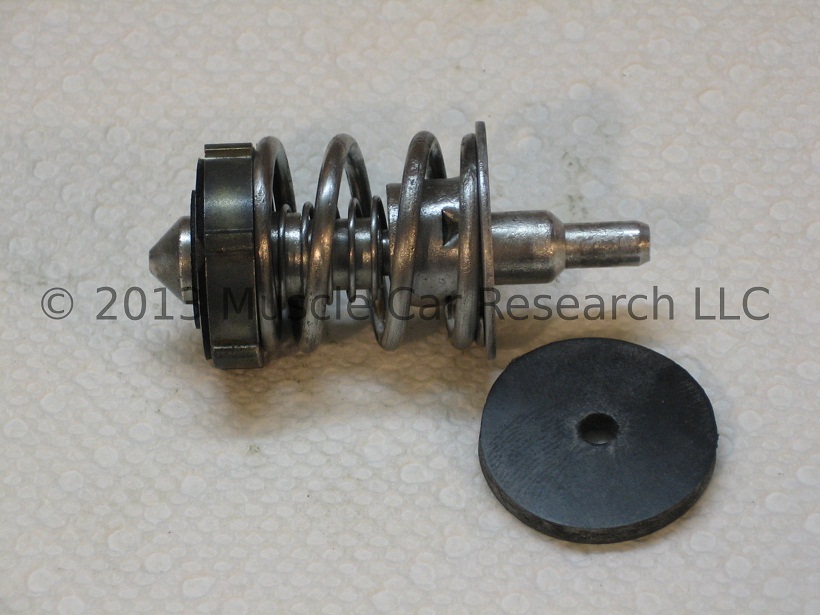
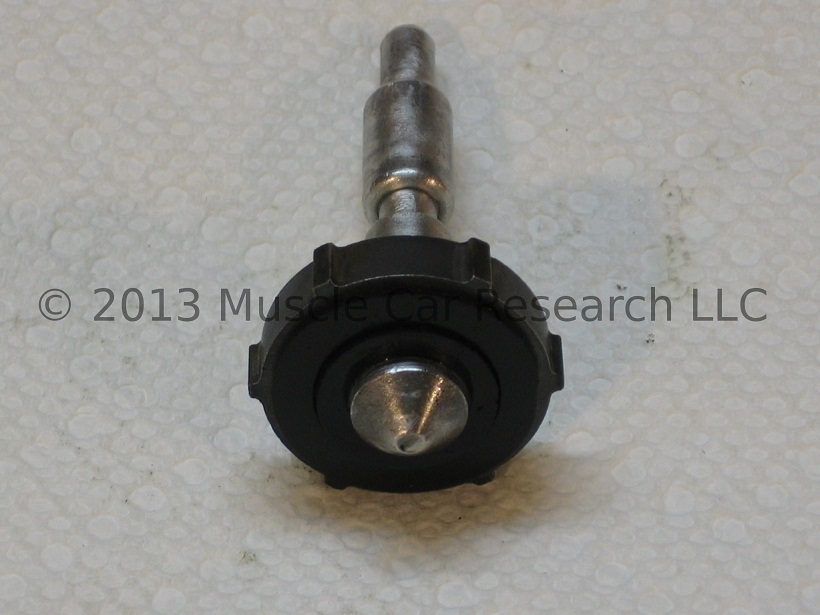
Lubricate the sealing washer with clean brake fluid and install it on the piston so that it sits flush with the end of the cap. Note that the piston diameter is larger than the inside diameter of the seal. Collect the o-ring and valve body plug.
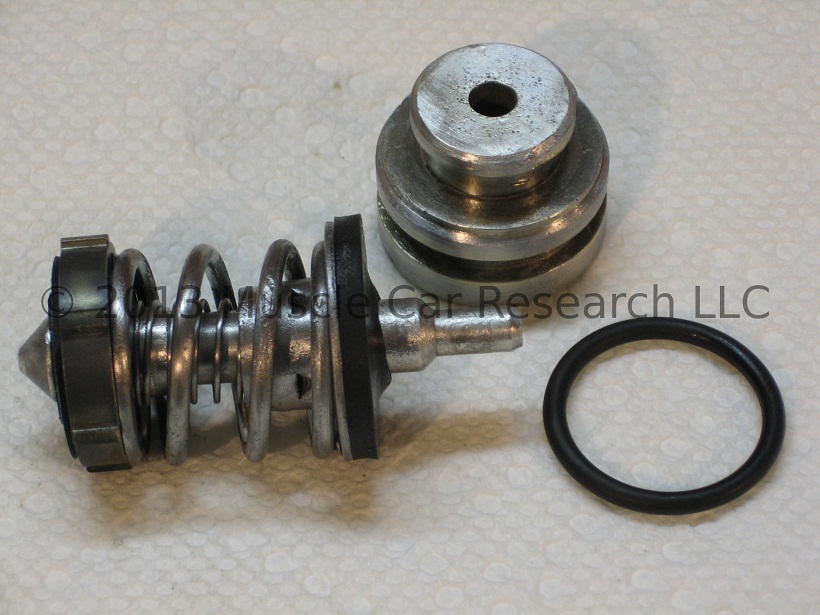
Lubricate the o-ring and install it into the groove on the valve body plug. Slip the plug onto the end of the spool valve. It should move freely.
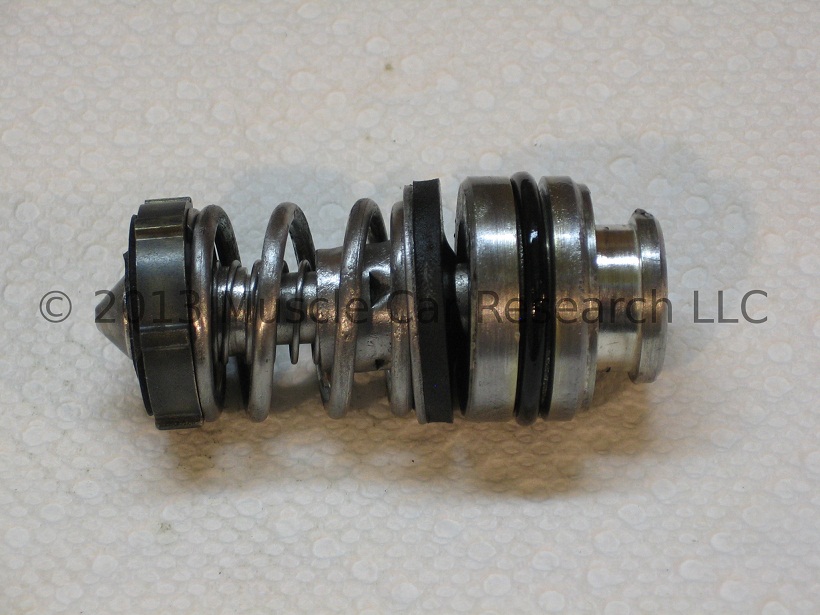
Lubricate the inside of the valve body with brake fluid and install the spool valve into the body. Press in it by hand until you feel resistance from the large spring.

Compress the plug and spool valve using a small socket and c-clamp. You need to press the assembly in far enough to expose the groove that will hold the retaining ring.

Collect the retaining ring and snap it into the retaining ring groove using a flat-bladed screwdriver or similar tool.
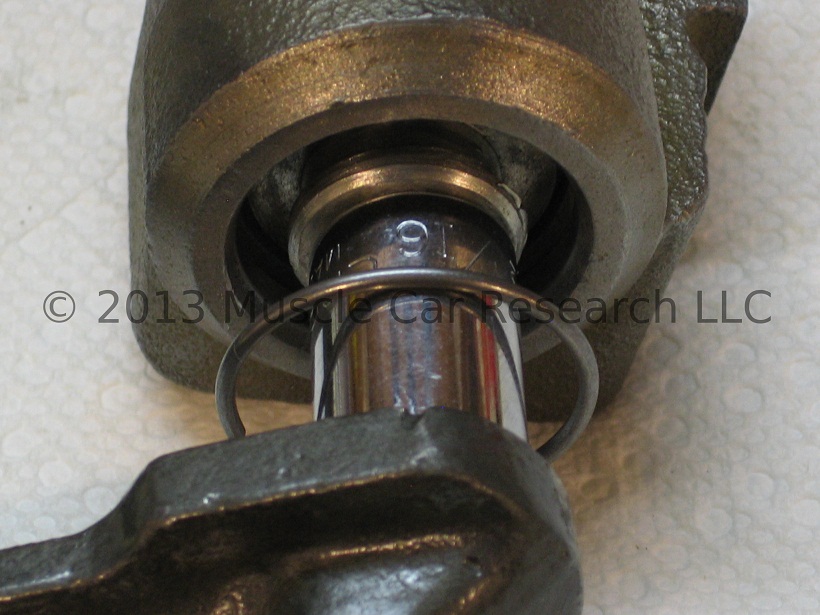
With the retaining ring installed you can remove the c-clamp and socket. The spool valve should stay in place.
Install the rubber cap to complete the assembly.
Now you can reinstall the valve in the car and reconnect the brake lines to the valve. Start each line by hand as best you can to ensure that the fittings are threading in straight and smooth. Be careful - it's easy to cross-thread the fittings and damage the threads. Tighten each fitting with a flare nut wrench. You may need to tighten, loosen, and retighten each fitting multiple times to obtain a leak-free seal. Add brake fluid, bleed the brakes, and check for leaks.
- Log in to post comments