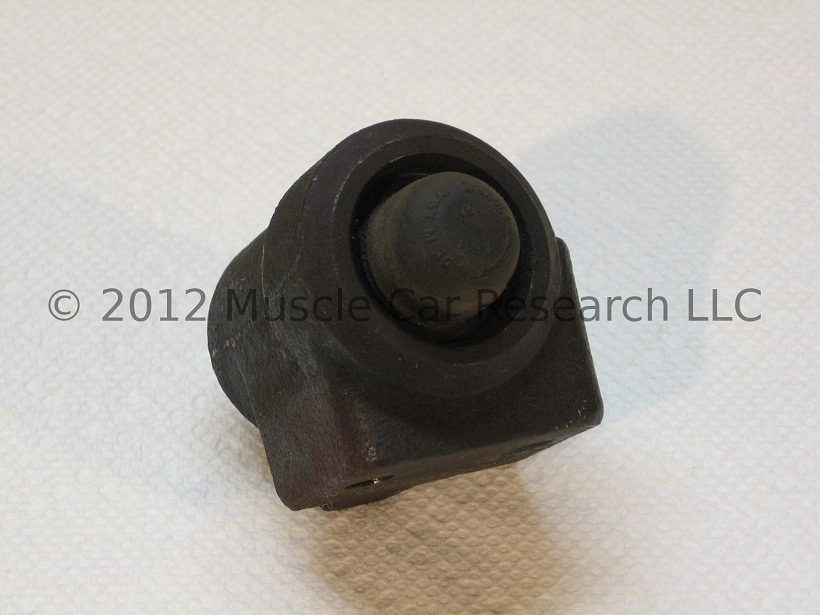
This Bendix metering valve was removed from a 1970 Chevrolet Camaro. According to my parts catalogs the original applications include the following 1970 GM vehicles equipped with front disk and rear drum brakes: all 1970 Chevrolet, all 1970 Buick A-body, and Oldsmobile F85. The original GM part number for this valve is 1233464; it is stamped 2226261. At some point GM replaced the 3905525 valve with this part.
You can click on the pictures below to see larger versions of the images.
I'm going to disassemble this valve to see if it's rebuildable. Follow along as I tear it down! Tools needed:
|
|
Start by removing the rubber dust cap from the end of the valve body. The cap is marked "Bendix 2225847 MADE IN U.S.A." around the top edge with "ABI" and "160" in the middle. Be careful when removing the cap because it's not included in my rebuild kit (though an excellent reproduction is available). Note the end of the rod that's protruding from the valve.
The metering valve's internal assembly is held in place with a round wire retaining ring that fits into a groove just inside the bore. If your valve is rusty or dirty it may be difficult to see the ring, but it's there. Before proceeding any further it would be a good idea to spray penetrating oil onto this end of the valve and let it soak for several hours. Don't worry if the penetrating oil gets inside. These valves tend to fail when the internal components get gummed up with corrosion and debris, so the penetrating oil will help loosen things internally, too.

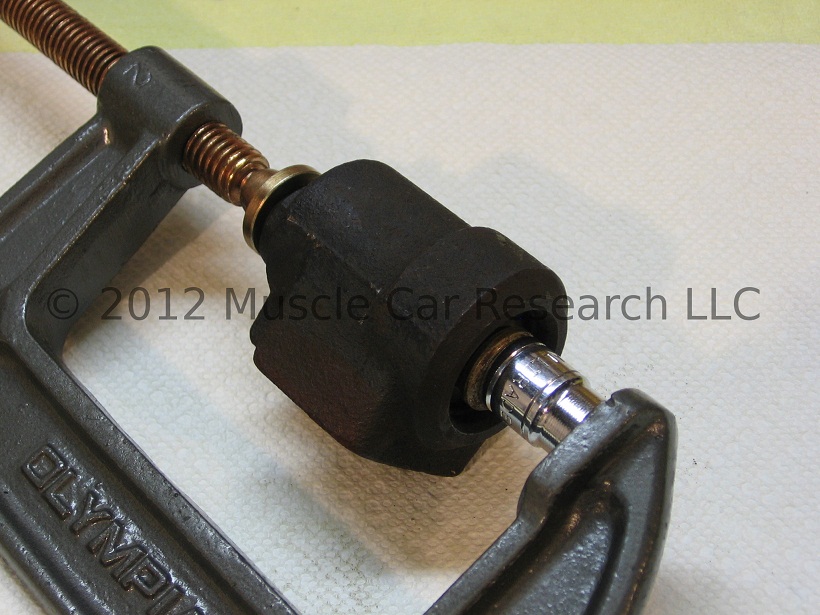
Once you've give the parts a chance to soak you can remove the retaining ring. You'll need to compress the internal valve assembly to gain access to the ring. Use a socket and C-clamp as shown in the image below. Tighten the clamp until the valve compresses and then bottoms out. You only need about 1/8" of clearance.
Now use your picks to get in behind the retaining ring and work it free. Dental picks aren't sturdy enough for this job. You need a good set of industrial picks.
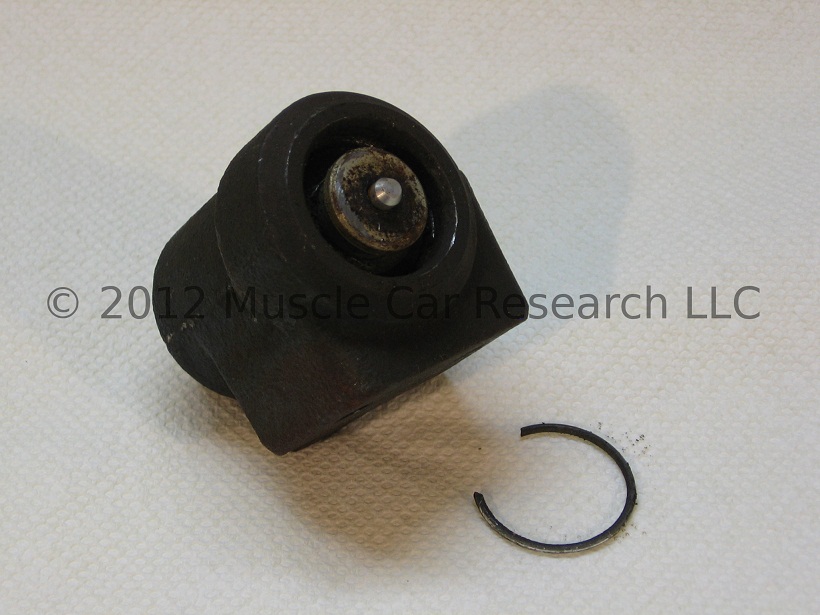
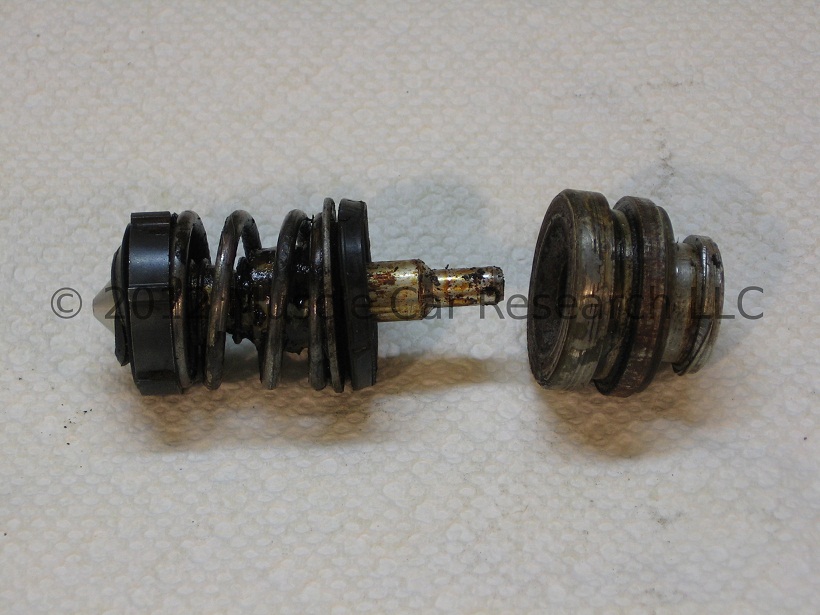
With the ring removed you can extract the internal valve assembly. It may be difficult due to internal corrosion. I've found that it helps to place the valve in a bench vise and then pry up on the edge of the metal cap with two medium-sized flat-bladed screwdrivers. Once you can pry no further with the screwdrivers you should be able to pull the assembly out by hand or with a pair of pliers. If you use pliers be sure to use a cloth to protect the cap.

With the valve assembly removed you can see the first o-ring seal on the metal cap. Remove it with one of your picks.
The valve assembly doesn't use any retaining rings or clips to keep the parts together. If yours looks like it's all one piece that's because it's being held together by rust and dirt. It can be a challenge to separate the parts, but be patient and use the penetrating oil. You should be able to pull the metal cap off. If it doesn't come off by hand, soak it in penetrating oil until you can work it free.
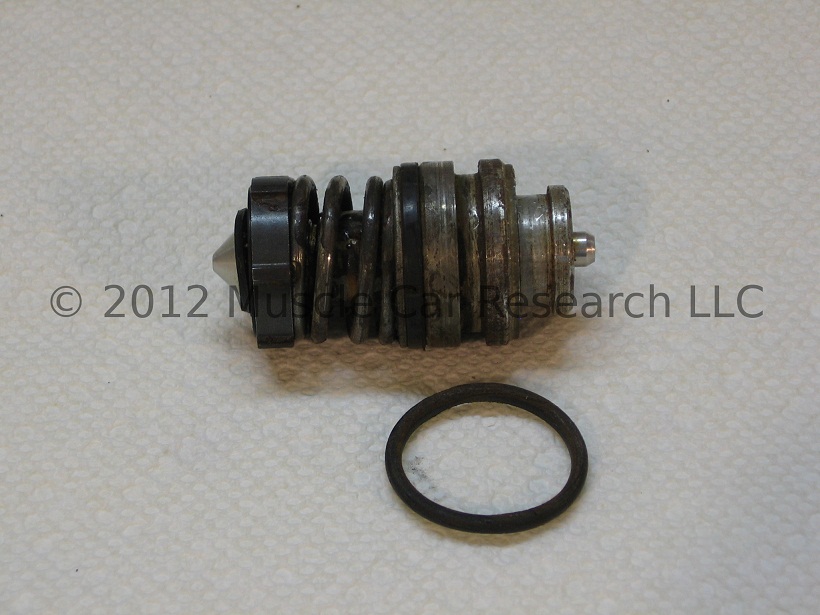
With the cap removed you'll see a large rubber disk and another metal cap. Pull on the cap to remove both parts. Watch for the two springs!
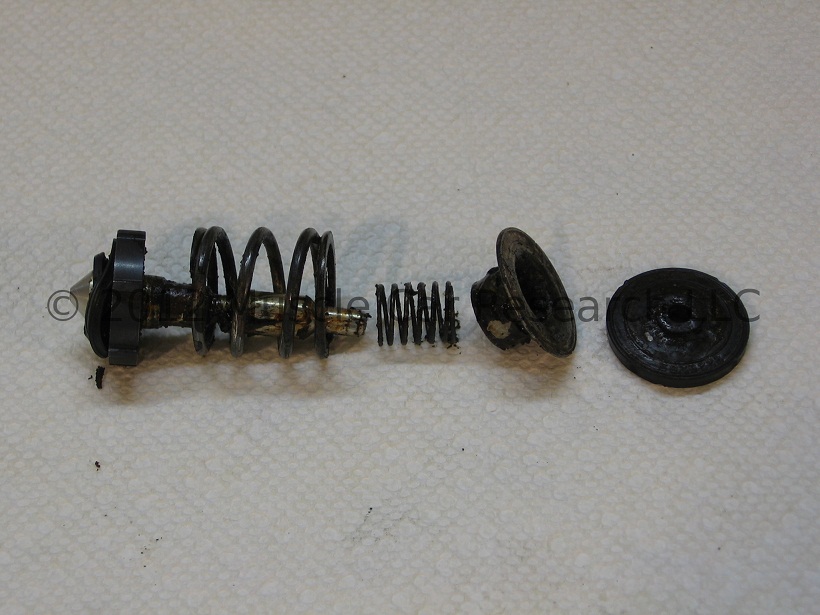
All that's left now are a plastic disk and two smaller seals. Slide them disk off and remove the seals by hand. Done!

Muscle Car Research offers a rebuild seal kit for this valve. Complete rebuild instructions are available in another technical article.
- Log in to post comments