This document describes how to rebuild the E0ZC-2B328-AA 1980 - 1986 Ford Mustang brake pressure control valve (and other valves like it) using a new seal kit available from Muscle Car Research LLC. Tools needed:
|
|
The rebuild kit provided by Muscle Car Research LLC includes the following parts:
- Piston o-ring seals
- Plug o-ring seals
- Piston seal
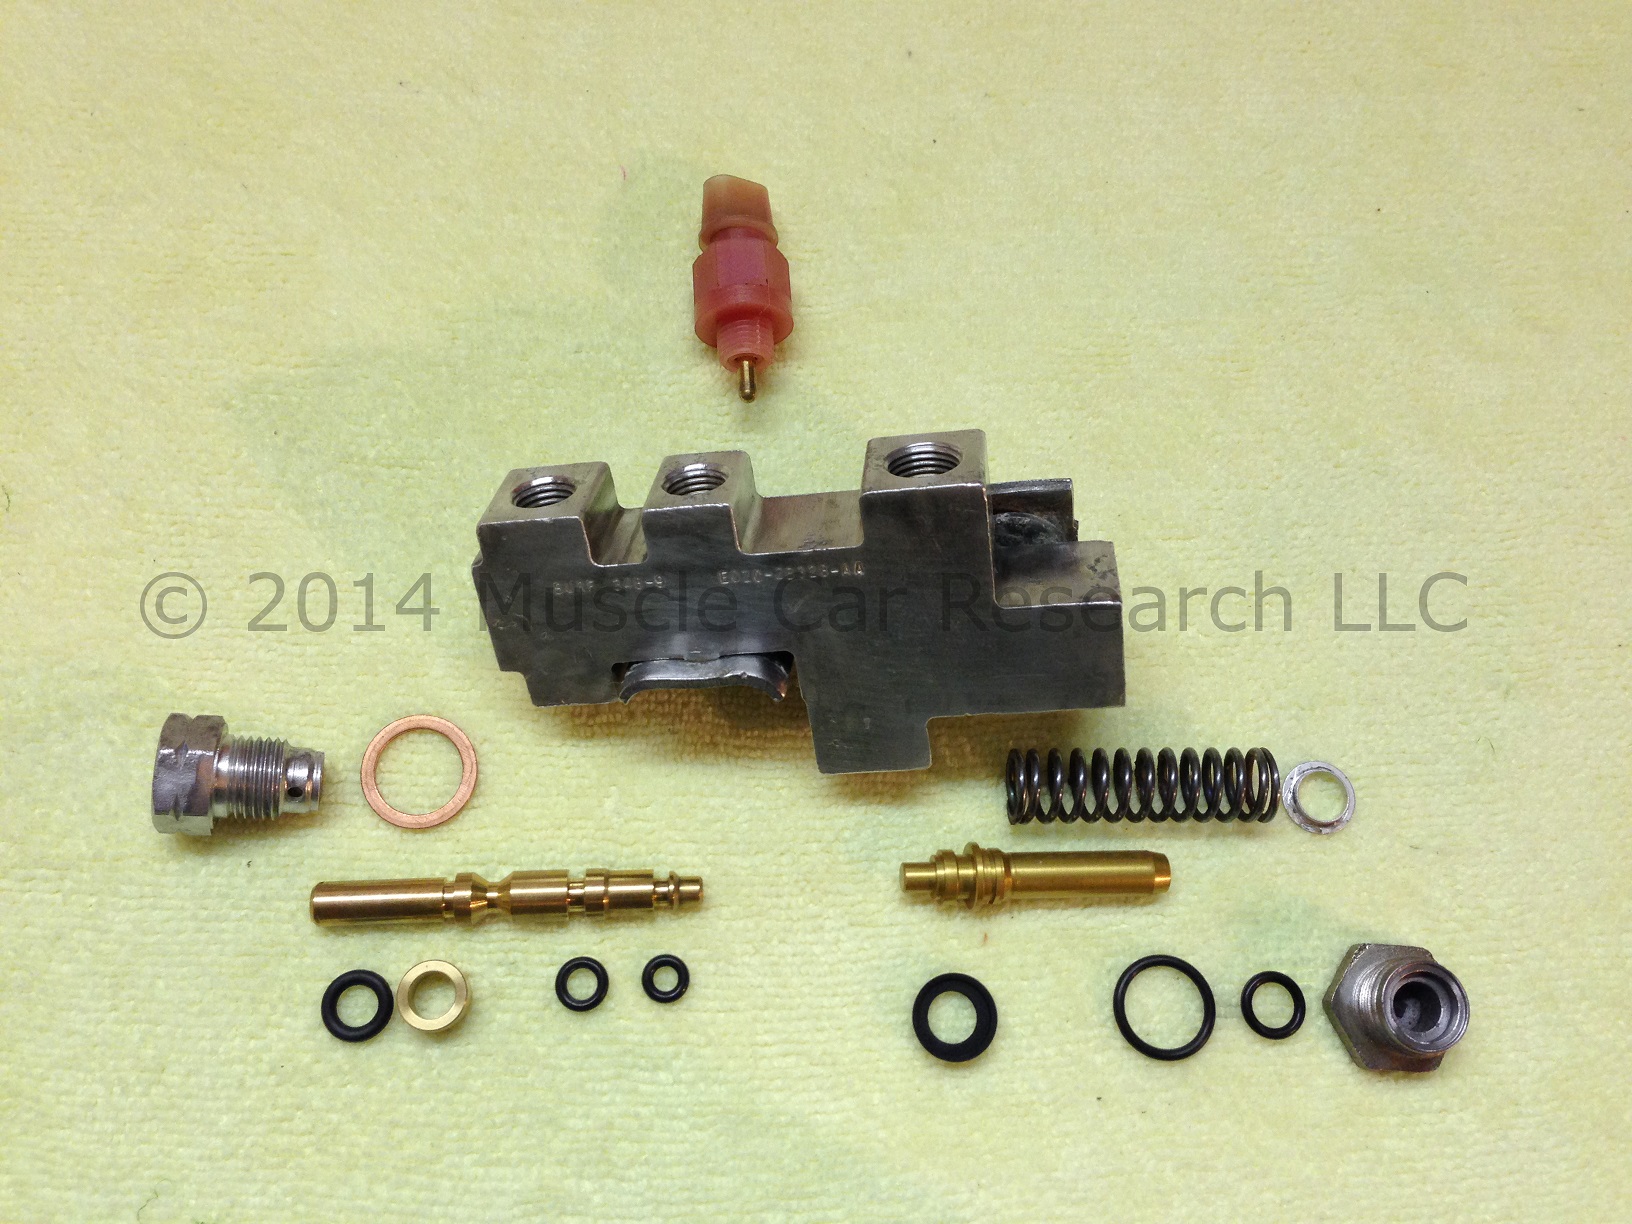
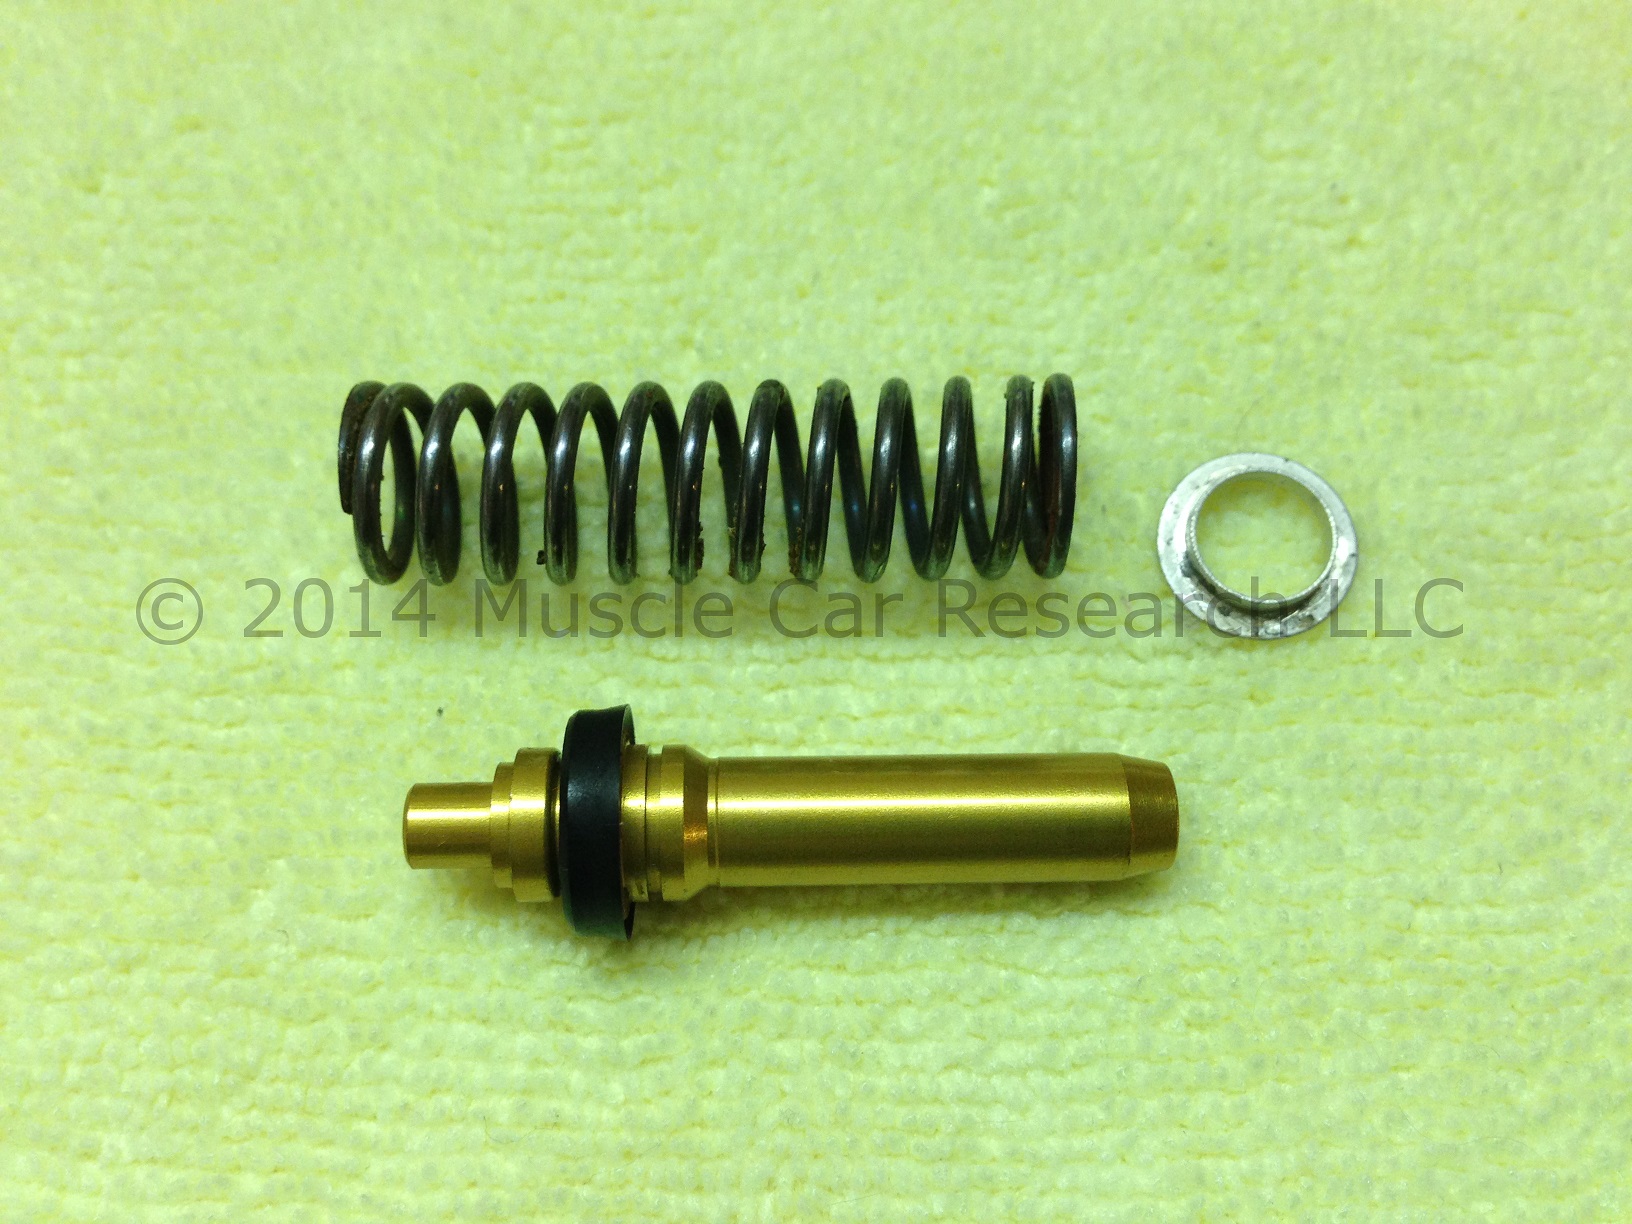
Let's start with the proportioning valve. It consists of a spring, sprint cap, piston, seals, and a steel plug. I don't include a spring with my rebuild kit because the original springs are almost in good usable condition and a new spring would just add cost. I can provide one if you need one, though.
Install the o-rings on the plug. Lubricate the o-rings with clean brake fluid as you install them.

Install the piston seal on the piston. Make sure that the open end of the seal is facing out. Lubricate the seal with clean brake fluid.
Push the piston into the valve body.

Install the spring and spring cap. The inner edge of the cap should be facing towards the spring.

Install the plug using the 3/4" wrench or socket. You'll need to compress the spring while turning the plug to engage the threads. Don't over-tighten the plug!
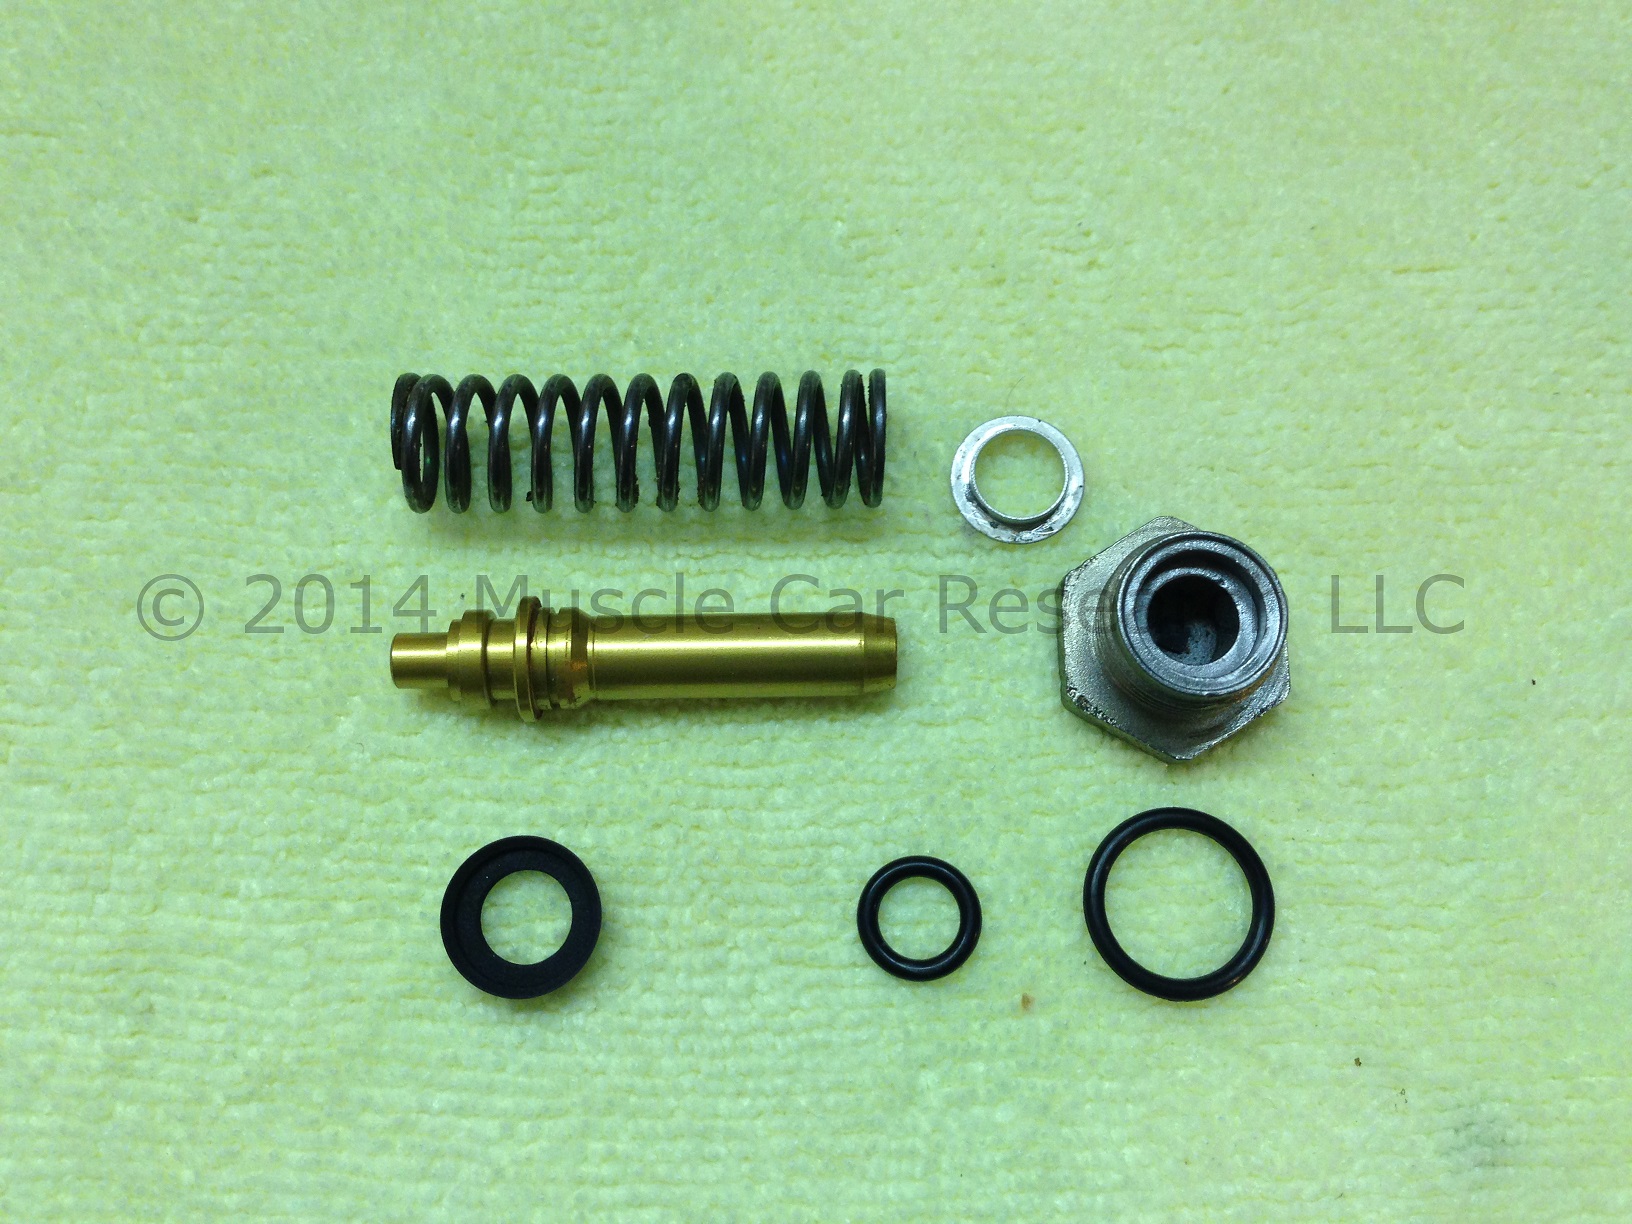
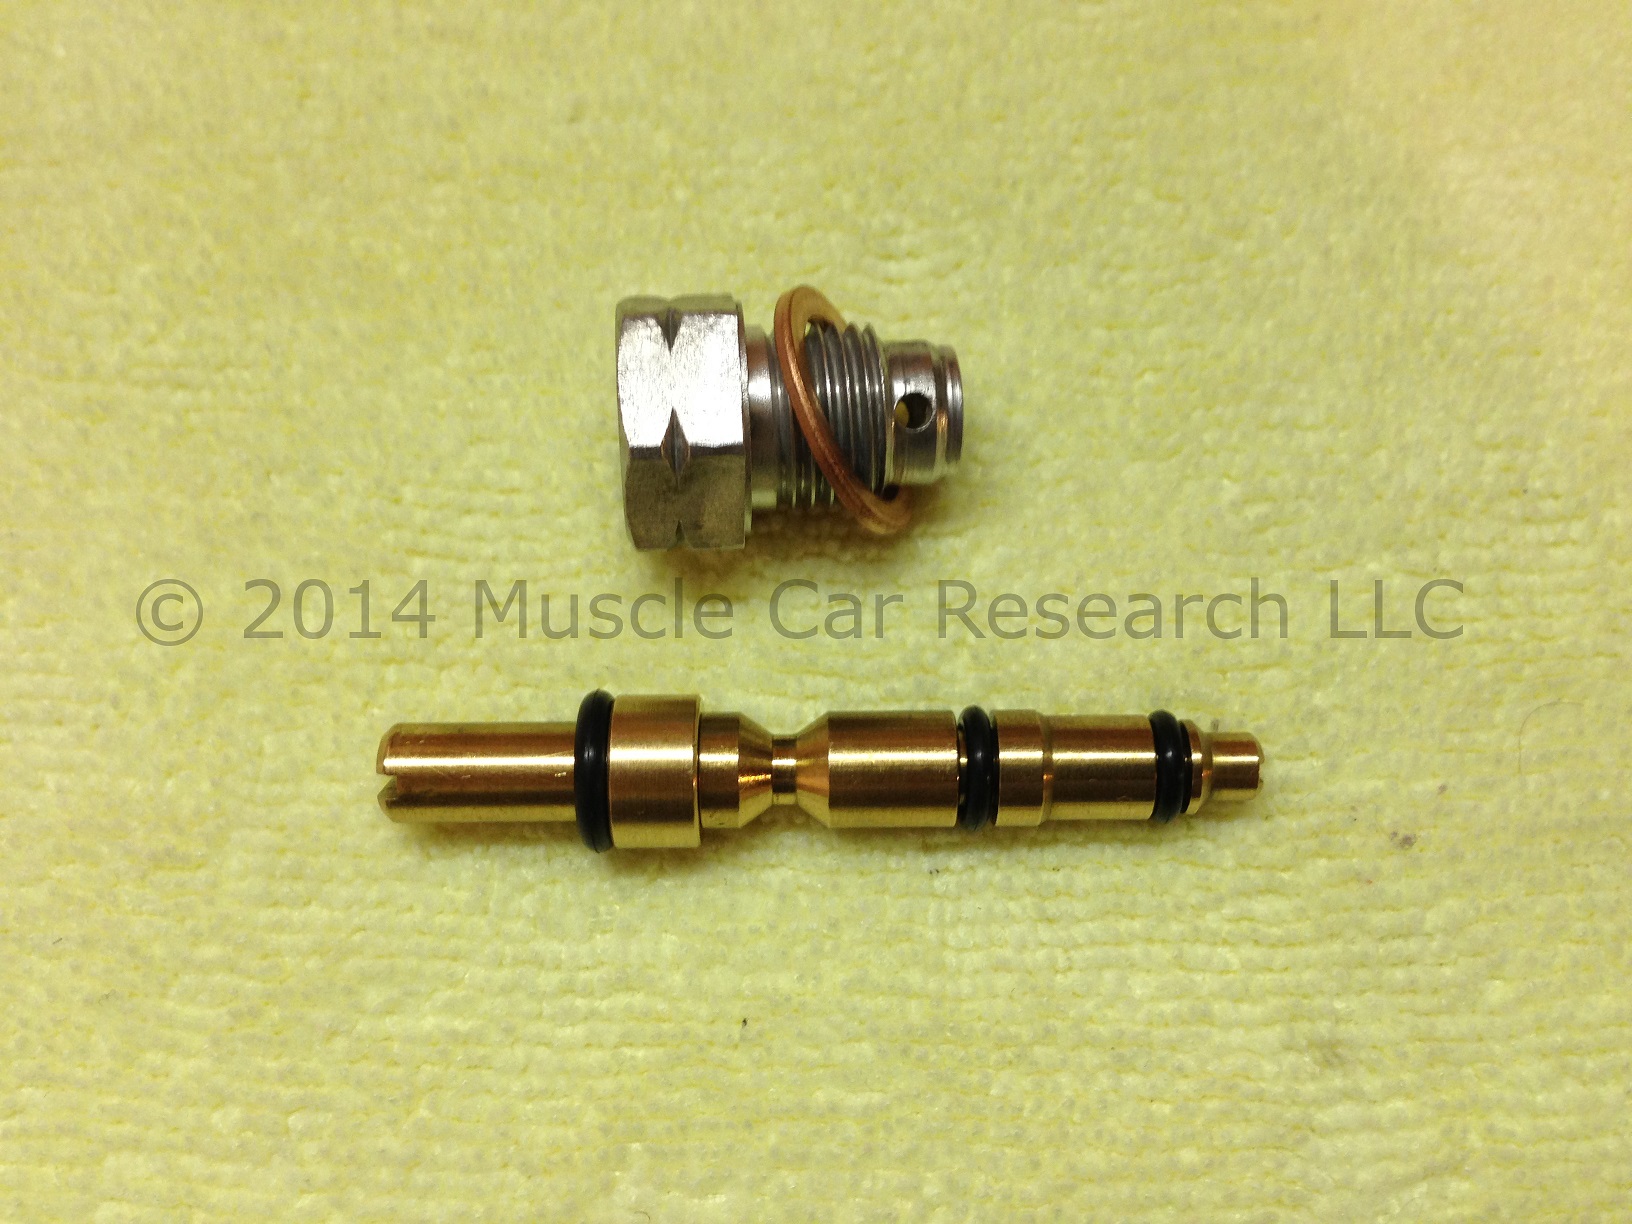
Now let's focus on the pressure differential switch. This component includes a brass piston, a brass spacer, o-rings, a copper crush washer, a brake tube fitting, and an electrical terminal. We need to install the piston first.

Install the o-rings on the piston. Lubricate them with clean brake fluid. It helps to use a dental pick to gently pull them over the lips on the piston. Push the spacer down as far as it will go and hold it in place with the large o-ring.
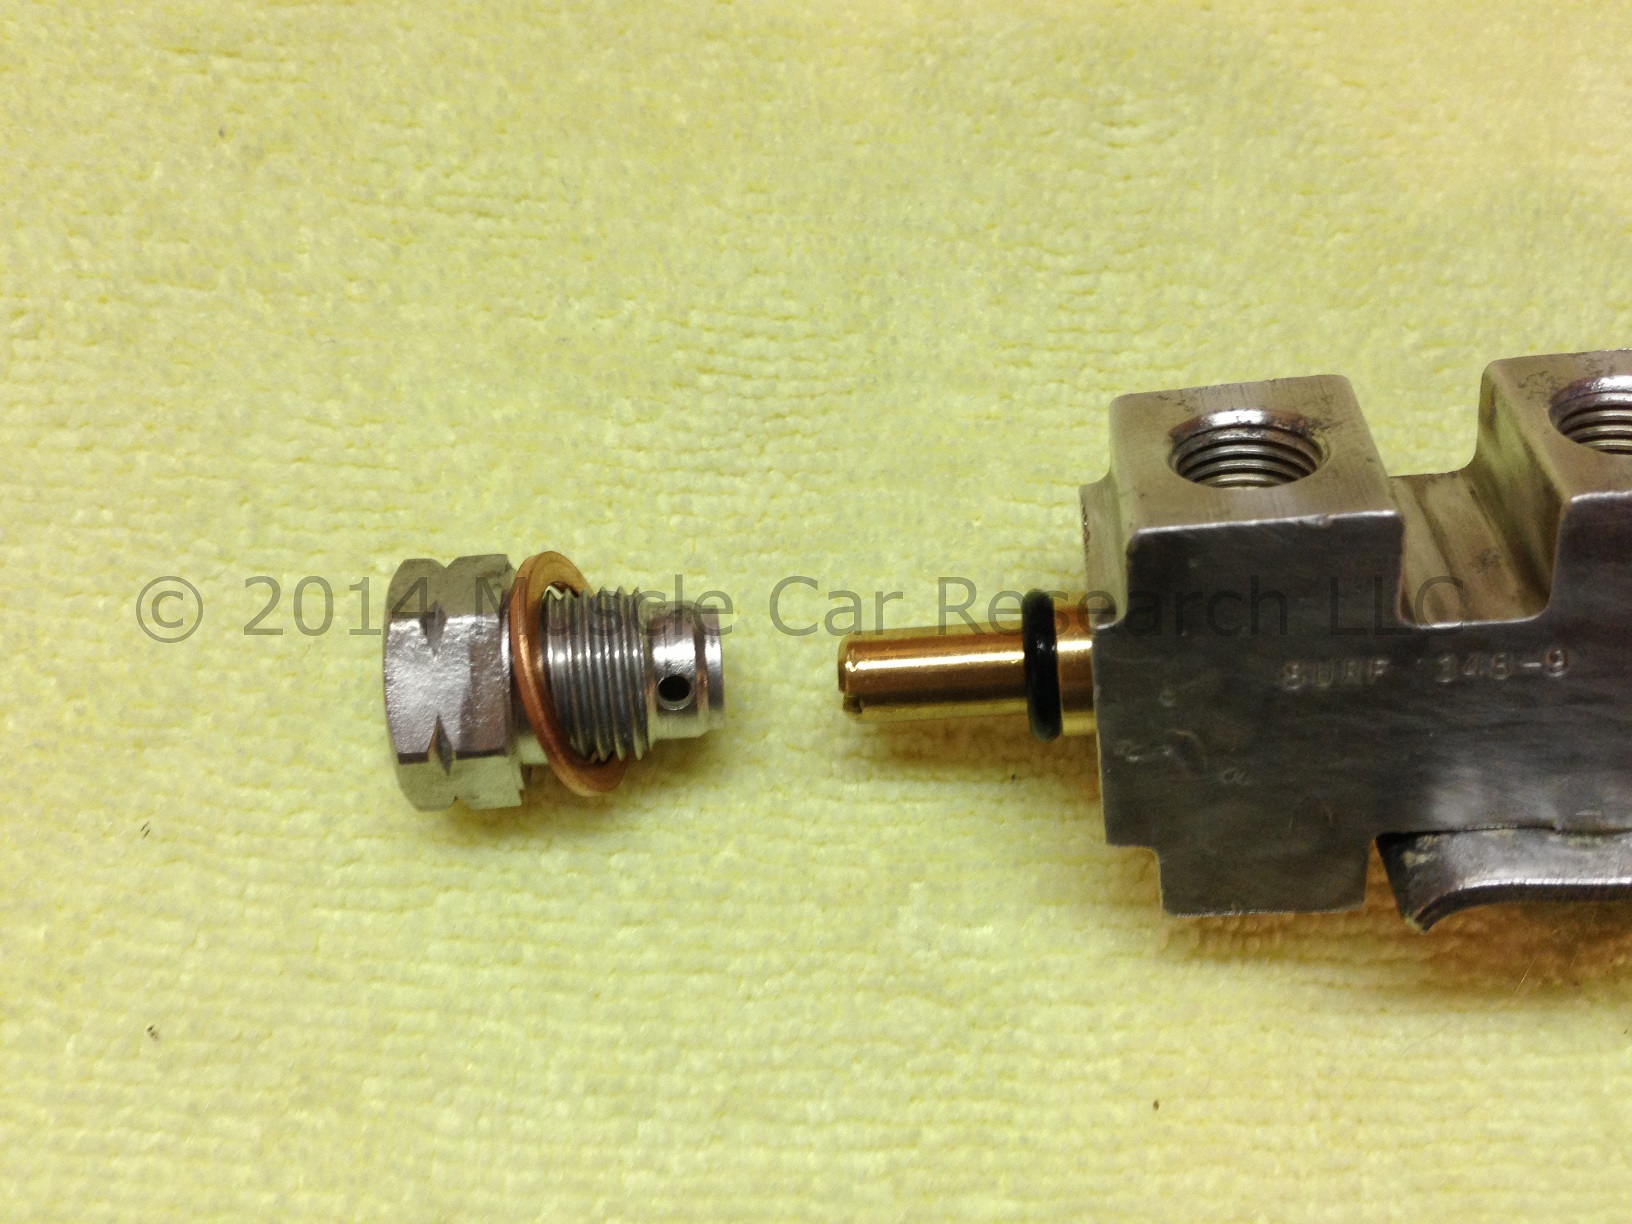
Insert the piston in the valve body, small end first. This is the trickiest part of the rebuild process! Gently push the piston with the screwdriver until the grooved area is visible beneath the port that holds the electrical terminal. You need to be sure that the post on the terminal isn't touching the piston. If it is, your brake warning light will be lit on your dash and you'll need to re-center the piston by bleeding your brakes at the calipers. The o-ring that fits next to the spacer usually rides up when you push the piston in; push it back down gently using the dental pick. It needs to be completely below the fluid ports.
Install the copper washer and the brake tube fitting using the 5/8" wrench or socket. You want it just tight enough to form a good seal.

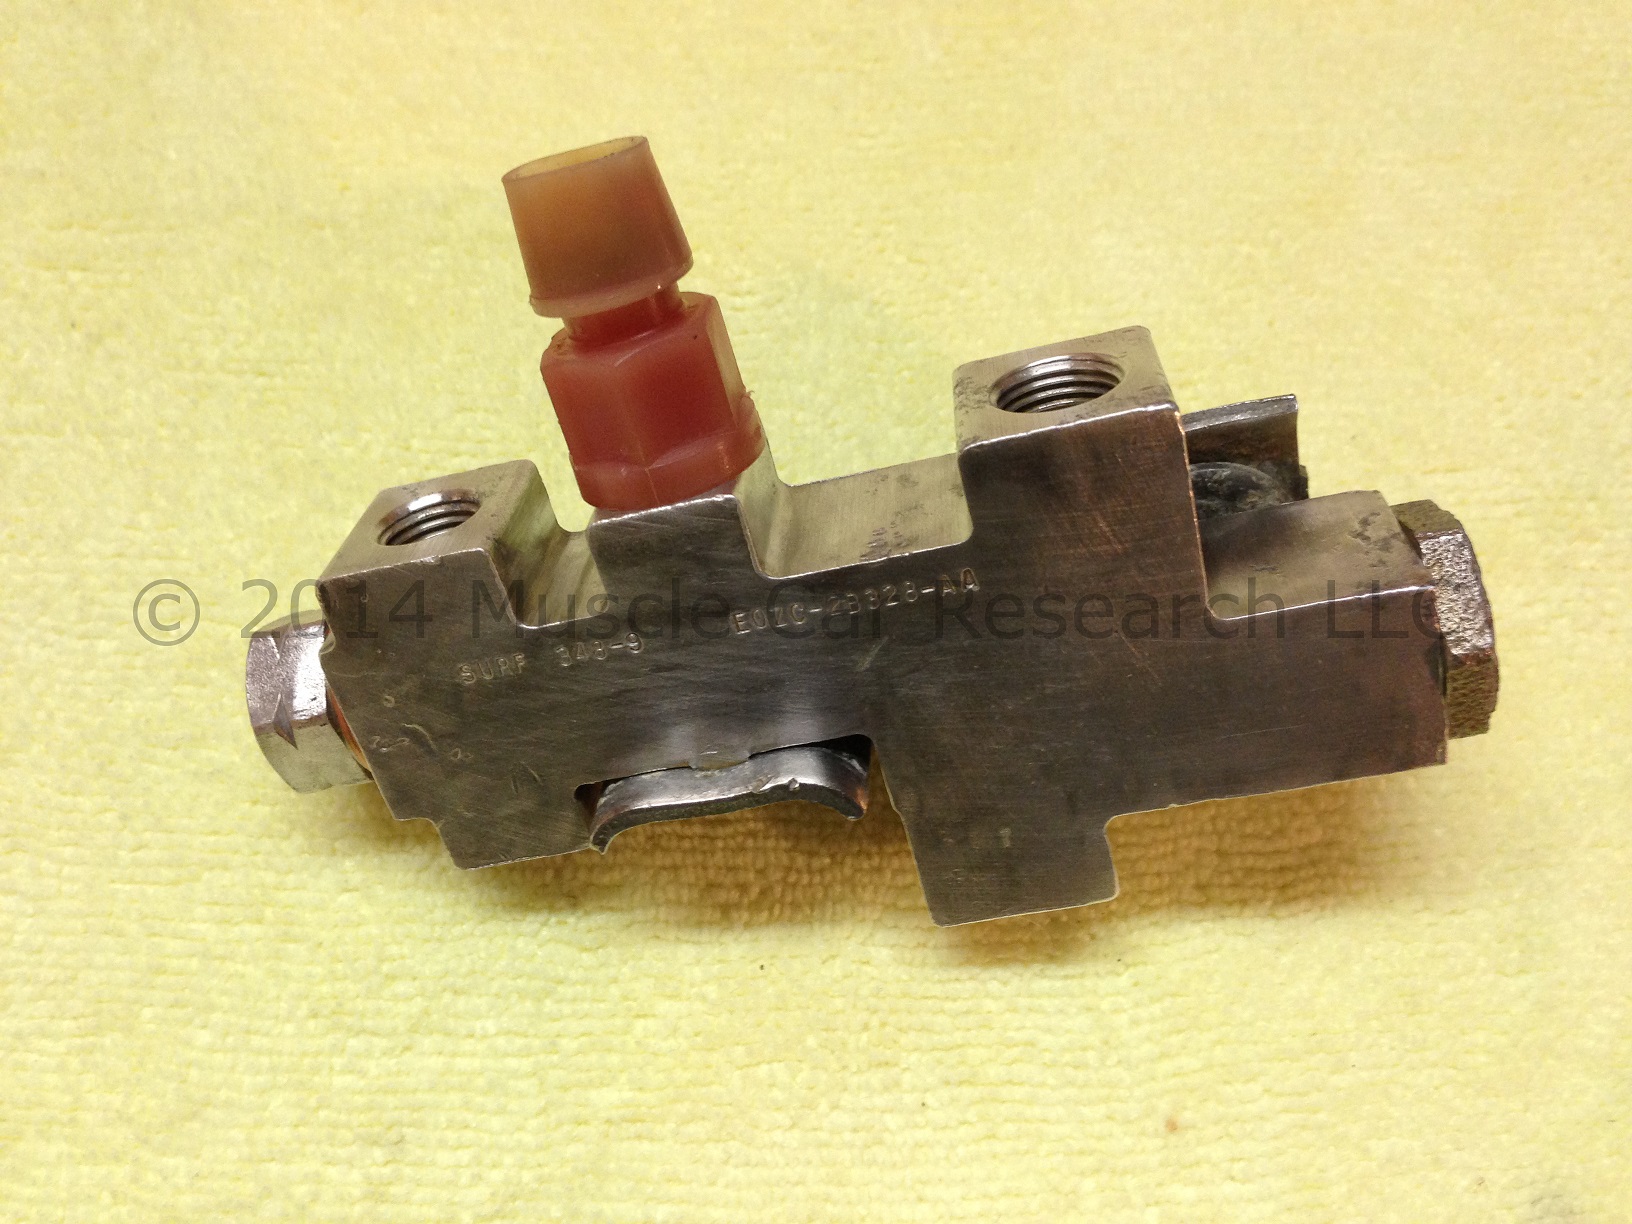
Install the electrical terminal using the 9/16" wrench and the rebuild is finished.
Now you can reinstall the valve in the car and reconnect the brake lines to the valve. Start each line by hand as best you can to ensure that the fittings are threading in straight and smooth. Be careful - it's easy to cross-thread the fittings and damage the soft brass threads. Tighten each fitting with a flare nut wrench. You may need to tighten, loosen, and re-tighten each fitting multiple times to obtain a leak-free seal. Add brake fluid, bleed the brakes, and check for leaks.
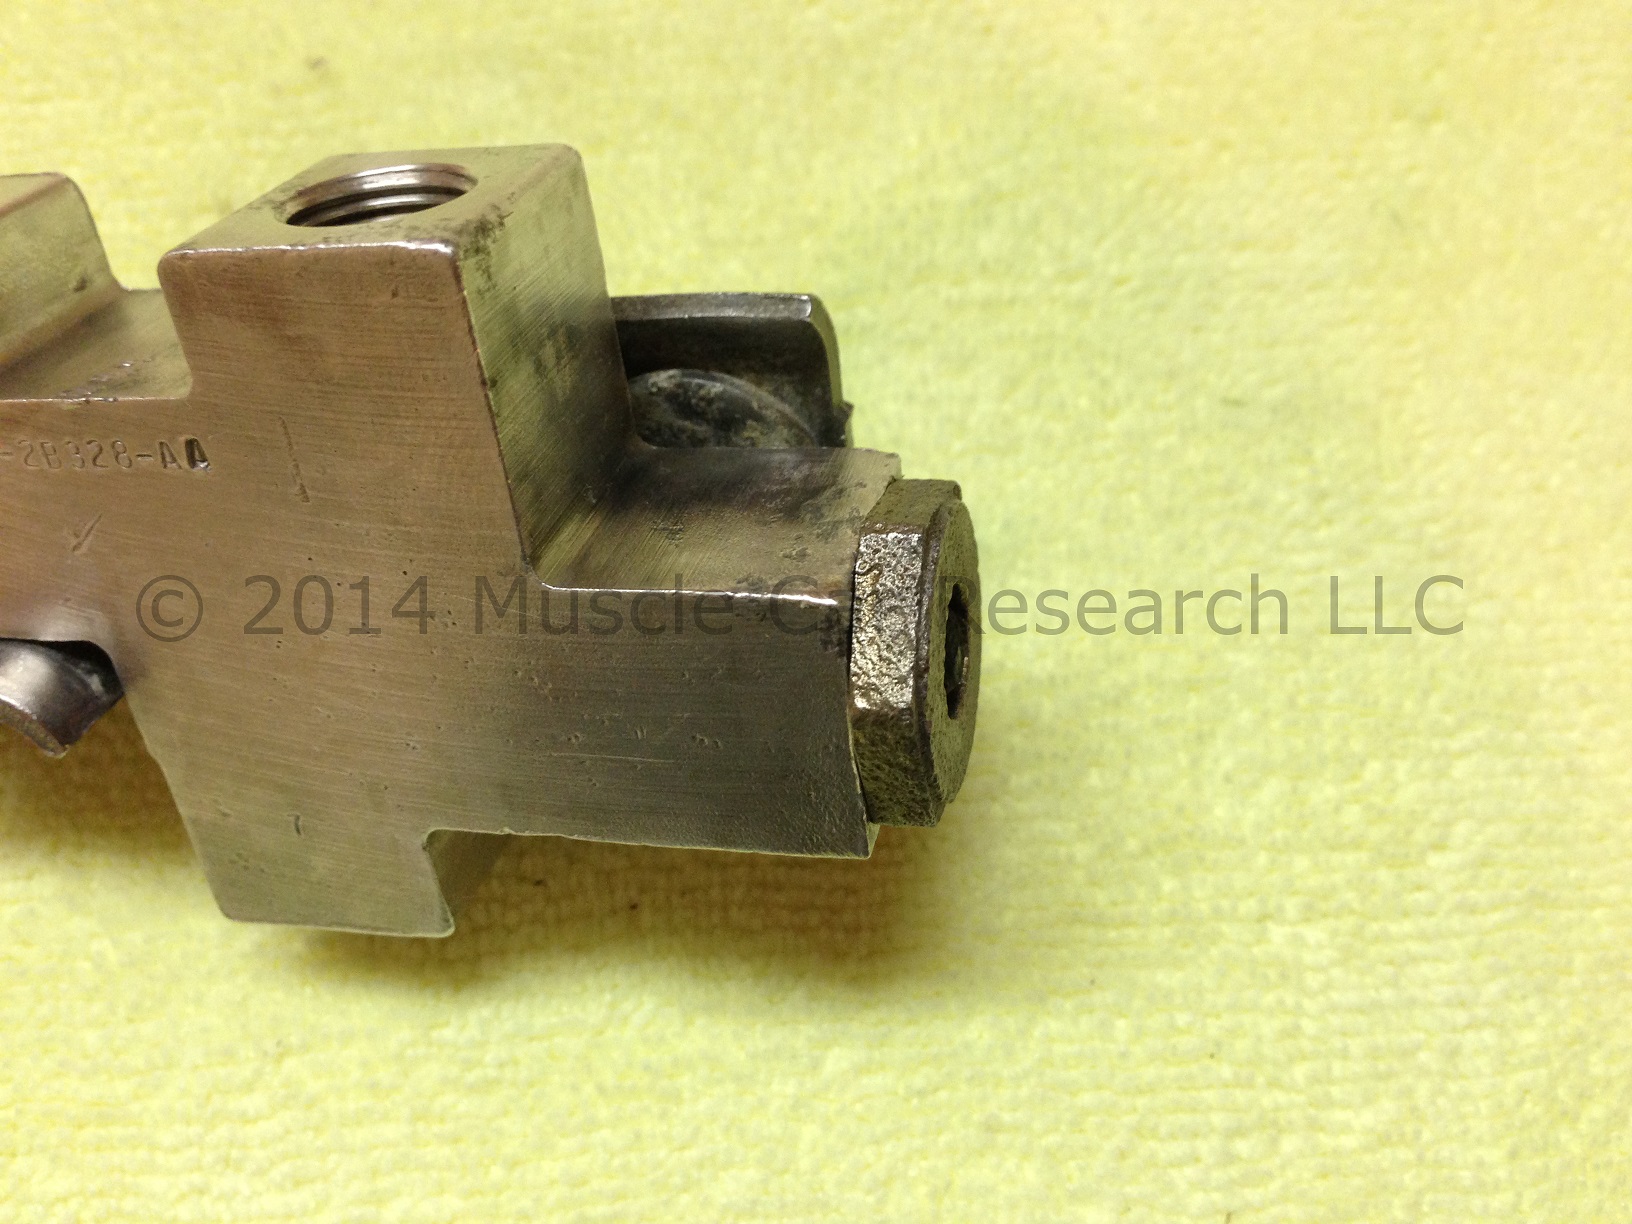
The bracket used on this tee was originally plated with a zinc dichromate or yellow cadmium finish. If you're rebuilding the tee for use on a concours show car you will want to either remove the bracket from the tee by carefully reforming the staked brass tab that holds the bracket in place or you can send the entire valve off to have the whole assembly re-plated. If removed, the bracket can be reinstalled by re-staking the brass tab with a ball peen hammer. If not removed, be sure to plug the ports with inverted flare plugs to keep plating material from getting into the valve. Plating material that gets on the valve body can be removed with a bead blaster or a wire wheel, but be sure to protect the bracket with masking tape.
- Log in to post comments